![]()
Here's a step-by-step walk-through of adding new users to your account. First, make sure you are logged in as an Admin. Then click the "Admin" Tab on the top navigation.
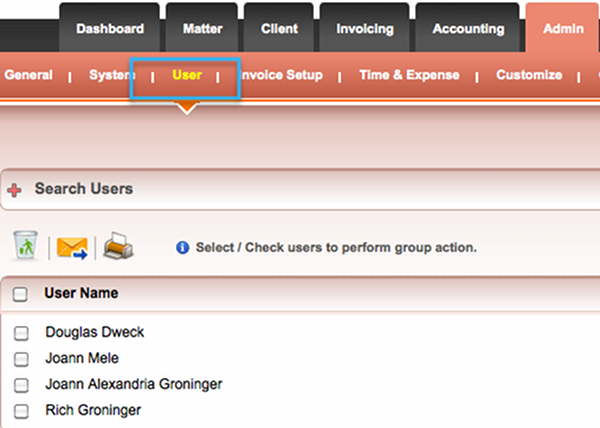
Now, click the "User" Sub Tab.
A page will appear with a list of Users in the Time and Billing System. You can sort or view them by Status (Active or Disabled).
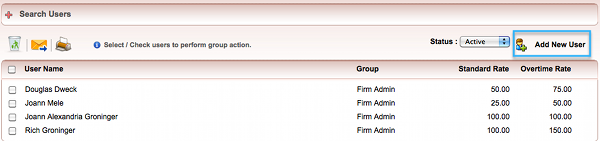
Now, click the "Add New User" button on the right of the page.
You should now see an "Add New User" window appear. Enter the User's info here. A red dot is next to required fields.
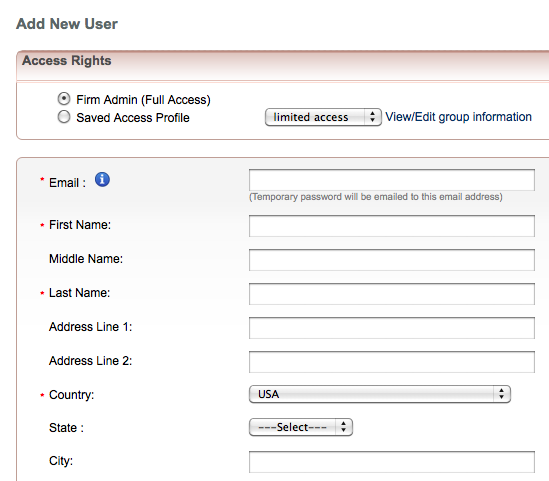
Make sure that you set the User's Access Rights. You can select "Firm Admin" if you want them to have full system access (ability to see all information in the system and to alter any system-wide settings). If you want to limit the User's access, select "Saved Access Profile."
This is done right at the top of the window:
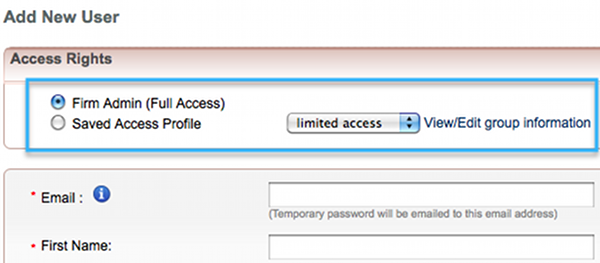
In the drop-down menu select "<<Add New>>" to create a new Access Profile Group, or select a previously created Access Profile Group.
Any rates you enter for the User will be automatically loaded on time and expense entries (however you can override the rate defaults when you make the entries, or edit them later).
In the "Manage Client Access for This User" box, there is a check box for "All Current and Future Clients." See below:
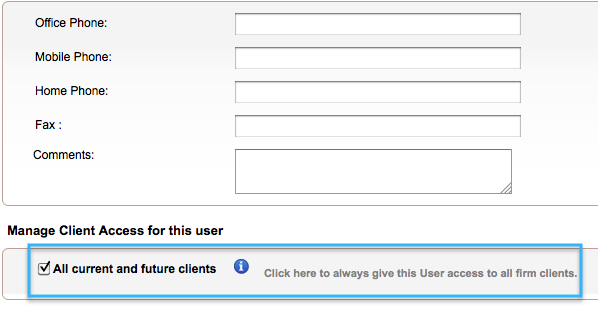
If the User is set as a "Firm Admin" they will automatically have access to all current and future clients.
Or you can check the box to manually give them access to all current and future clients.
You also have a few more options here. If you uncheck the box, you'll have several options for customizing what clients a user sees and has access to. For example, you can select client-by-client who the User can access. Use the right and left arrow to move desired Clients to the User's "User Has Access to These Clients" column.
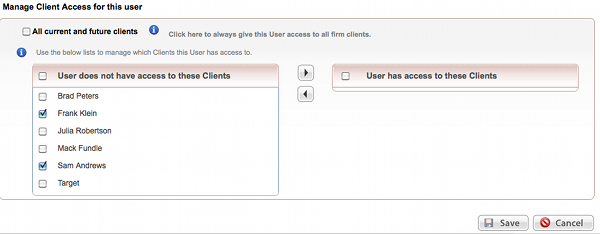
Please note: Users will not know a Client exists unless they have been given access to that Client.
Don't forget to click the "Save" button to create the new User in the system.
Comments
0 comments
Article is closed for comments.